
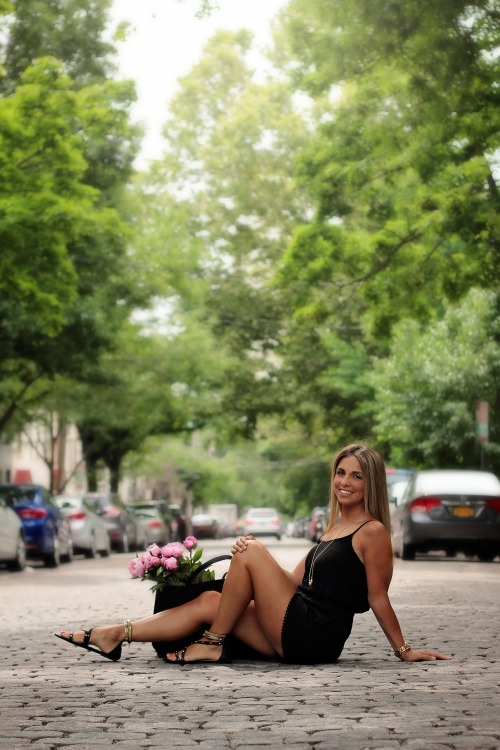
Thank goodness it’s Friday, but I do have to say, weekends are just too short to wear your hair the same way for work or play (I swear, I wasn’t trying to rhyme here)! For this post, I decided to compile seven on-the-go, easy styles for any type and length of hair to have a look that’s effortless, but still adds a little edge to the basic “pull back,” or the “pin-straight,” vibes some of us tend to religiously depend on…
- The Topknot:
- Start by brushing out your hair (make sure it’s completely dry-actually, dirty hair is best!)
- add a little styling cream to help tame the knot as you’re putting your hair up (and to tame any hairs you want to stay-put) I use Chi Straight Guard Smooth Styling Cream-It can be a little pricier than your basic drugstore brands, but they always sell it cheaper at Target or Marshall’s for around $8.00
- put your hair into a high ponytail
- separate it into two sections
- literally tie the two pieces into a knot (like you’re tying a shoe)
- repeat once more
- take the remainder of hair and wrap it around the ponytail
- pin hair into place with bobby pins (choose pins that blend into your hair! I have long, thick hair and tend to use about 4-5 pins)
- let some of your flyaways stay as is (the point is to make this knot look “effortless”)
- spray with a little hairspray (helpful hint: hold hairspray far from your head-most hairsprays have water in them, and the closer you hold it towards your hair, the less time the water has to evaporate). I use Not Your Mother’s, She’s A Tease Volumizing Spray for around 4.95 at Target or Walmart

2. Tousled, Beach Waves:
I could care less if the fall season officially kicks off in a few weeks. This has become one of the most effortless styles I have sported all summer long, and one that has received some of the most attention-so it’s safe to say, it’s coming with me to work this year!
- (you can do this with wet or dry hair) throw your hair up in a messy bun if you want the waves to begin at the crown of your head
- -or-tie your hair into a low, messy bun at the nape of your neck if you prefer your waves to begin chin-length
- Let it sit for a few hours (if you wash your hair before bed, I usually just put it in a bun and sleep on it)
- Take out the bun, and if you feel that your hair is still too “limp,” just throw it back up for a little longer (maybe even run your blow dryer over it)
- Once you let the bun fall down, you will notice the wavy hair
- You may have the urge to brush it-but don’t! That’s the secret ingredient! Remember, it’s supposed to look tousled! Instead, run your fingers through it to separate the pieces
- I then use my Not Your Mother’s, Texturizing Sea Salt Spray and spray it throughout my hair as I scrunch it up at the bottoms, lifting the hair until it meets my scalp
- Make sure not to overdo it with the spray-you don’t want it too damp that your hair appears wet, salty, and sloppy
- Try to avoid playing around with it throughout the day, as the oils in your fingers will start to flatten the look-if anything, add a little more spray and give the look a little more scrunch!

3. The Side-Swept, Traditional Braid:
- add some shine spray to your hair-I feel redundant when I say this, but if the product didn’t work, I wouldn’t be using it: Not Your Mother’s, RIse and Shine Silky Smooth Shine Mist (again, Target or Walmart for super CHEAP!)
- brush product through the hair
- brush hair over to one side of your head (making a deep side-part)
- begin to create your traditional braid in three sections (start with the section that is in the back)
- keep your brush by your side, to untangle any strands that become unruly
- secure with Goody Clear Elastic Hair Bands (I purchase them from Target or Walmart for around $3 a box) I prefer clear bands, because they blend with your hair, keeping eyes from diverting their attention to the “bulky band” instead of the “do,” itself
- start to pull at each section to give the appearance of a fuller, thicker braid
- pull some loose strands from the braid around the front of your hair to appear “messy”
- hairspray sparingly around your head to hold the style in place

4. The Side-Swept, Twist Ponytail:
Are you ready for how ridiculously easy this one is?
- add some shine spray to your hair
- brush product through the hair
- brush hair over to one side of your head (for a deep side-part)
- tie in a loose ponytail right below your ear (don’t forget to use your clear elastic hair bands!)
- poke your index finger through the middle of the ponytail, right above the hair band
- pull your entire ponytail through the hole (outside through to the inside)
- pull down gently to make sure that your ponytail has followed through
- pull some loose strands from the ponytail around the front of your hair to appear “messy”
- hairspray sparingly around your head to hold the style in place

5. The Side-Swept, Fishtail:
By far, my favorite this summer…and in all honesty, it’s probably my favorite, because I’ve never had my hair in one until I learned how to create this braid just a few months ago!
- create a deep part in your hair
- add hairspray around your hair
- put your hair into a low, side ponytail using a clear hair band
- divide hair into two sections
- take a small piece of hair from the outer side of the outer section and bring it to the inside of the opposite section (the key is to keep the pieces tight every time you cross them over)
- Keep taking small pieces from each side into the inside of each section to create the inverted braided sequence
- continue until you reach the end and finish by tying the hair with another clear elastic hair band
- tease the braided hair by pulling out some strands to give it that “I woke up like this” look
- cut the elastic band that you originally used to put your hair in a pony (yes, the one on top)
- loosen the elastic at the bottom of your hair, and then begin to pull at parts of each section of the braid to make the appearance thicker

6. Low, Messy Bun (with Ribbon):
This is one style that turns out different every time, but that’s the beauty of it! Make it your own new mess each time!
- Start with a little bit of texture in your hair (Not Your Mother’s, Girl Powder Volumizing Hair Powder)
- tease with a comb
- grab all of your hair with your fingers (using one hand) as if you were to put it in a ponytail
- with the other hand, tuck it all in as if you were going to create a bun
- tie it together with a clear elastic band (your hair should have an untamed, naturally loose hold)
- stretch out your bun in both directions to loosen up the hair
- if some hair has fallen out, twist it and bobby pin it to your head near the clear elastic (helpful hint: try to do this without using a mirror, to avoid the urge to “fix” the messy look)
- let any loose strands hang, to mess up the look even more
- if your hair needs a little more volume at the top, pull gently at the crown of your head to loosen it
- you can do the same to the hair below the bun, at the nape
- finish with a little bit of hairspray
- take a ribbon (any size, your preference) and tie it around the base of the bun. I like to pull the knot over to the size for a cute, flirty, “I’m not trying to look like a little school girl,” look

7. Loose, Half Braid:
This style is by far one of my favorites, because it gives off that “Bohemian” look that I can never get enough of…
- I like to begin by following the steps I use for the “Tousled Waves” do, or you can use straight hair (whichever your preference, or switch it up each time!)
- take the front, top section of hair from one side, and begin either a traditional or fishtail braid
- follow it down, until the hair will no longer braid (or until you’re able to pull the braid back to meet the back center of your head)
- tie with a clear, elastic band
- use a few bobby pins to allow the braid to “drape” down across to the back of your head
- You can do this with each side, and tie the braids in the middle (or really make it complicated and double-up the braids on each side)
- to complete the look, add a fun flower, or beaded headband for the ultimate Bohemian 60’s-inspired look

And there you have it! I hope I was able to simplify these “simple styles” for you! You have the entire weekend, so why not give one or two a try and see what happens? Don’t forget to tag me with the results (Instagram: @daniellepiel, Facebook: Danielle Piel), you can even email me (daniellepiel22@gmail.com) or leave a comment below!
Cheers to embracing the weekend with a new do!
X, Danielle
Photo Credits for style #7: Google Images

Love these! Especially the fishtail. Gorgeous!!!
LikeLiked by 1 person
Thanks! The fishtail is my favorite as well ❤️
LikeLike
I absolutely love these. They’re simple and so cute!
LikeLiked by 1 person
Thank you, Tiffany!
LikeLike
Love them! I love Not Your Mother’s brand so it’s great seeing you use them. My sister loves their dry shampoo!
LikeLiked by 1 person
Yes! I love the smell of the dry shampoo!
LikeLike
Love these styles! Simply gorgeous!
LikeLiked by 1 person
Thank you very much!
LikeLike